Simplifying Web Design.
INTRODUCTION
When you visit a well-designed website, you may notice that all the icons look consistent. They have the same thickness, style, and visual balance. This consistency is usually achieved through a structured design process.
Instead of using many separate image files, designers often create custom icons and convert them into a web font. This approach allows all icons to be stored in a single font file and controlled easily using CSS.
In this blog, I will explain the complete process — from designing icons in Figma to converting them into fonts.
WHY USE ICON FONTS INSTEAD OF IMAGES?
Before understanding the process, it is important to know why icon fonts are useful.
SCALABILITY

Icon fonts are vector-based, which means they stay sharp at any size. Whether the icon is small or large, the quality remains clear.
BETTER PERFORMANCE
Using image icons means the browser has to load many files. Icon fonts combine all icons into one font file, which reduces server requests and improves page loading speed.

EASY COLOR CONTROL
Icon fonts behave like text. This means their color can be changed easily using CSS, without editing image files.
FLEXIBLE SIZE CONTROL
You can change the size of icons simply by adjusting the font-size property in CSS, just like normal text.

CONSISTENT DESIGN

Since all icons come from the same font file, they automatically maintain the same style and visual weight, which keeps the interface consistent.
STEP 1 – DESIGNING ICONS IN FIGMA
The process starts in Figma, which is where every BharatStack icon is created from scratch.
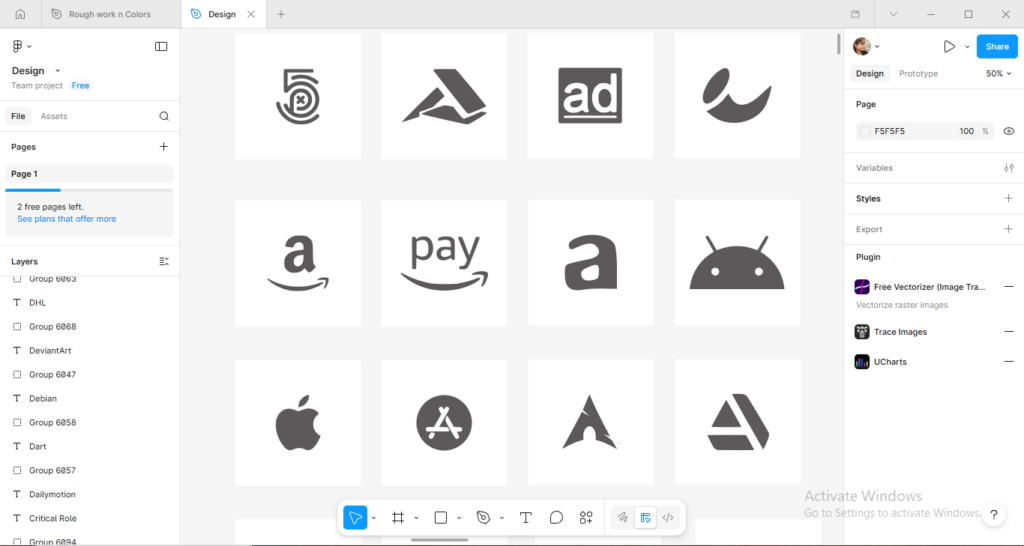
Each icon is created using a fixed grid, which helps maintain consistent size and alignment across all icons.
One important step during design is converting strokes into filled outlines. Font generators cannot read strokes; they only recognize filled paths.

Icons are also designed to remain clear at small sizes, because web icons are often used in navigation menus or buttons.
STEP 2 – EXPORTING ICONS AS SVG FILES
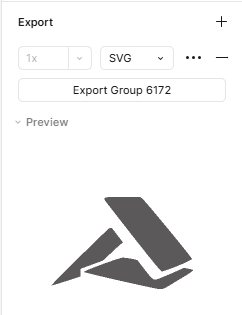
Once the icons are finalized in Figma, they are exported as SVG files — one file per icon.
SVG stands for Scalable Vector Graphics, which stores shapes as vector paths instead of pixels. This format is ideal for converting graphics into fonts.
Each SVG file is given a clear name, such as home.svg, search.svg, or calculator.svg. Proper naming helps keep the icon library organized.
Before exporting, all layers are flattened so the SVG contains clean vector paths without unnecessary groups or masks.
Gradients and images are avoided because font generators only support solid vector shapes.
STEP 3 – CONVERTING SVG ICONS TO FONTS USING FONTELLO
After exporting the SVG icons, the next step is converting them into a font.
For this process, I use Fontello, which is a free online tool that converts SVG icons into web fonts.
There are also other similar tools available such as Icomoon, Glyphter, and Fontastic. These platforms can also convert icons into fonts. However, I prefer Fontello because it focuses carefully on every icon detail and provides a clean and reliable conversion process.
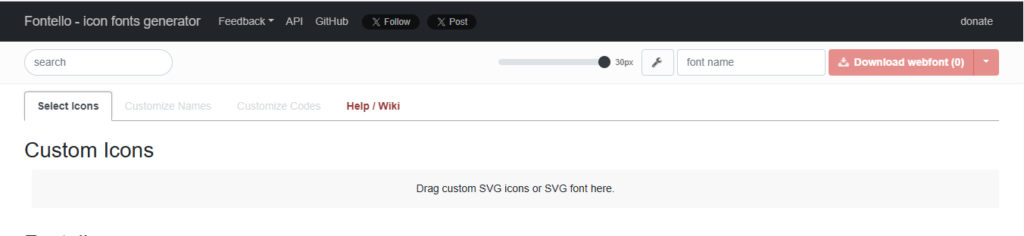
The conversion process is simple:
- Open Fontello in the browser
- Drag and drop the SVG icon files onto the page
- Preview each icon
- Assign names and character codes
- Generate the font package
Before downloading, every icon is checked in the preview to make sure it appears correctly.
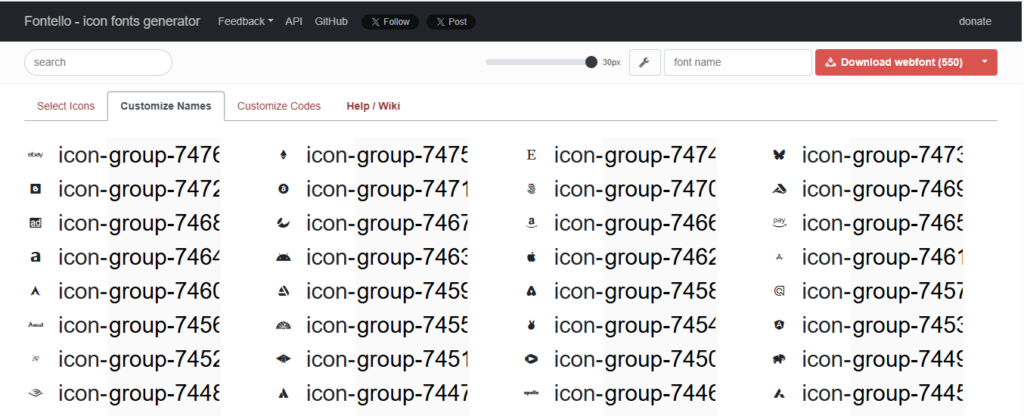
Once everything looks correct, clicking the download button generates the complete font package in just a few seconds.

STEP 4 – DOWNLOADING THE FONT PACKAGE
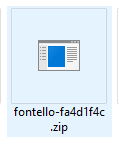
After the conversion process is complete, Fontello generates a ZIP package containing all required files.
This package includes font formats such as:
.woff2.woff.ttf.eot.svg
These formats ensure the font works across different browsers.
The package also includes a CSS file that contains the @font-face rule and the icon classes required to display icons on a webpage.

After downloading the package, I organize the files and then share them with my colleague, who handles the next step of integrating the font into the website.
BENEFITS OF USING CUSTOM ICON FONTS
The impact of switching to a custom icon font system showed up quickly across several areas.
FASTER WEBSITE PERFORMANCE
Came from reducing the number of server requests. Instead of the browser fetching a separate file for each icon, it now loads everything in a single font file. This directly improved page load speeds, particularly on mobile devices where connection speeds vary.
BETTER UI CONSISTENCY
Became much easier to maintain. Because every icon on BharatStack comes from the same font, they all share the same visual characteristics. There are no odd mismatches in style between older icons and newer ones.
EASIER MAINTENANCE
Is probably the most appreciated benefit on a day-to-day basis. Changing the color of all icons site-wide takes one CSS edit. Resizing them for a new layout takes another. No image files to open, no exports to redo.
SCALABLE ICONS FOR EVERY SCREEN SIZE
Mean that BharatStack looks just as clean on a small smartphone as it does on a wide desktop monitor, without any additional work for different resolutions.
Summary
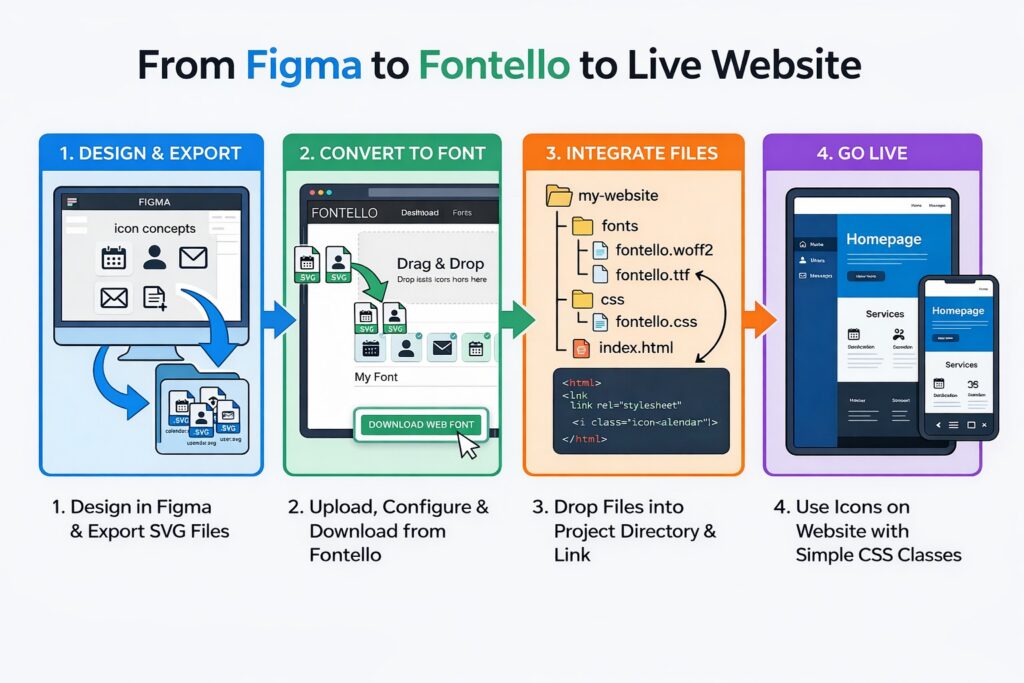
The process of converting icons into fonts follows a simple workflow:
1- Design icons in Figma using a consistent grid
2- Convert strokes to filled outlines
3- Export icons as clean SVG files
4- Upload the SVG icons to Fontello or similar tools
5- Generate and download the font package
6- Share the files for website integration
FINAL THOUGHTS
Converting custom icons into web fonts is a practical technique used in modern web design. It improves website performance, design consistency, and flexibility.
Once the system is created, icons can be easily reused, resized, and recolored using simple CSS rules.
With tools like Fontello, Icomoon, Glyphter, and Fontastic, the process becomes simple and efficient. Designers can quickly transform their icon sets into a format that is easy for developers to use on websites.
— Itishka Singh :- UI/UX designer
Leave a Reply